Are you ready to add a beautiful pop of color to your garden? Hydrangeas are a stunning choice! Their large blooms and wide range of colors make them a popular choice among gardeners. But how do you plant them? Don’t worry! In this step-by-step guide, we’ll show you how to plant hydrangeas in your garden, so you can enjoy their beauty for years to come.
Introduction
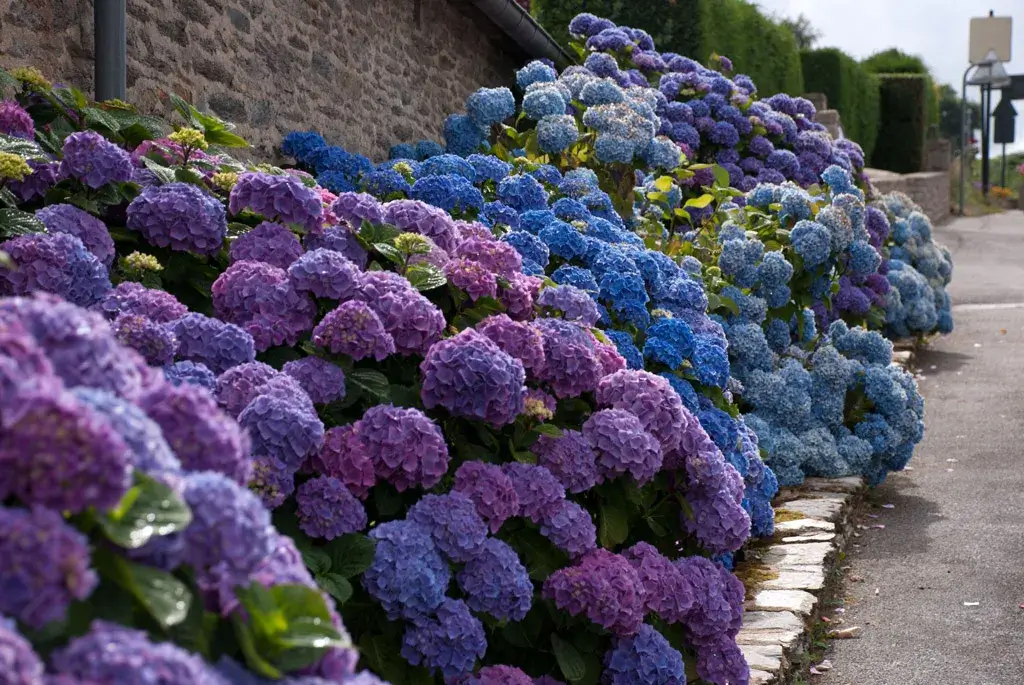
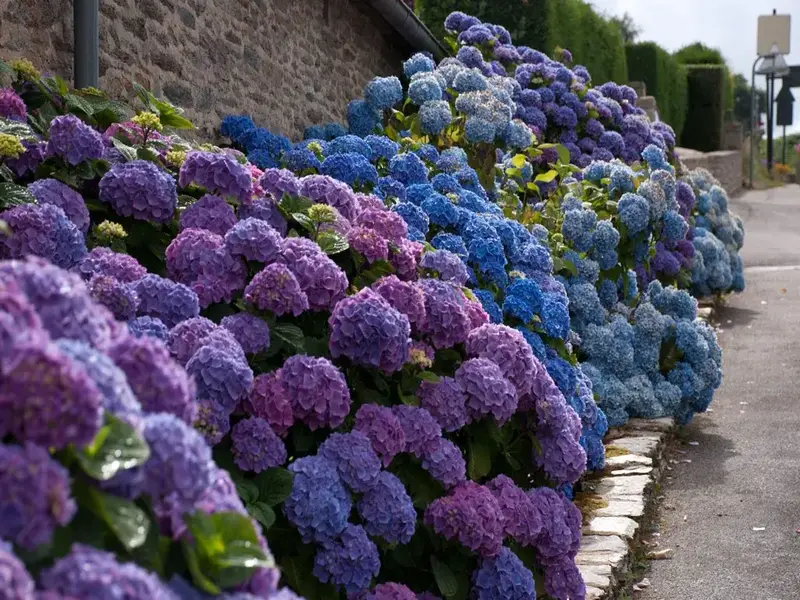
Hydrangeas are a popular flowering shrub that can add a touch of elegance and charm to any garden. They are easy to grow and care for, making them a favorite among gardeners of all skill levels. Hydrangeas come in a variety of colors, from bright pink and blue to delicate white and soft pastels. They also have a long blooming season, starting in the spring and lasting until fall.
In this article, we’ll show you how to plant hydrangeas in your garden, from selecting the right location to caring for your new plants.
Choosing the Right Hydrangea for Your Garden
Before you start planting, you need to choose the right hydrangea for your garden. There are several different types of hydrangeas, and each one has its own unique features. Some of the most popular types include:
- Bigleaf hydrangeas
- Panicle hydrangeas
- Smooth hydrangeas
- Oakleaf hydrangeas
Each type of hydrangea has different growing requirements, so it’s important to choose the right one for your specific location.

Selecting the Right Location
Selecting the right location is crucial for the success of your hydrangea plants. When deciding where to plant your hydrangeas, there are several factors to consider, including light exposure, soil drainage, and protection from harsh weather conditions.
Light Exposure
Hydrangeas thrive in partially shaded areas where they can receive a few hours of direct sunlight each day. Too much sunlight can cause their delicate leaves to wilt and burn, while too little sunlight can result in poor growth and sparse blooms.
When selecting a location for your hydrangeas, observe the amount of sunlight that the area receives throughout the day. If the area receives too much direct sunlight, consider planting your hydrangeas near taller plants or trees that can provide some shade. Alternatively, you can use shade cloth to filter out excess sunlight.
Soil Drainage
Hydrangeas require well-draining soil that can hold moisture without becoming waterlogged. Poor soil drainage can lead to root rot and other fungal diseases that can harm your plants.
Before planting your hydrangeas, test the soil in the selected location to determine its drainage quality. You can do this by digging a hole that is about 12 inches deep and filling it with water. If the water drains within an hour or two, the soil is well-draining. If the water takes longer to drain or remains in the hole, the soil is poorly draining.
If the soil in the selected location is poorly draining, you can improve its drainage quality by adding organic matter, such as compost or aged manure, to the soil. This will help to improve the soil’s structure and promote better drainage.
Protection from Harsh Weather Conditions
Hydrangeas are sensitive to harsh weather conditions, including strong winds, heavy rain, and extreme temperatures. These conditions can damage their leaves and blooms and even kill the entire plant.
When selecting a location for your hydrangeas, consider the exposure of the area to these harsh weather conditions. If the area is prone to strong winds, consider planting your hydrangeas near a fence or other structure that can provide some protection from the wind. Similarly, if the area is prone to heavy rain, make sure that the soil in the area is well-draining to prevent waterlogging.
Additionally, during extreme temperature fluctuations, it’s essential to protect your hydrangeas from frost and heat stress. You can do this by covering your plants with frost blankets or providing them with shade during hot summer afternoons
Preparing the Soil
Preparing the soil is a crucial step in planting hydrangeas. Hydrangeas require well-draining soil that is rich in organic matter to thrive. Before planting, it’s essential to amend your soil to ensure that it provides the right environment for your hydrangeas to grow and bloom.
Testing the Soil
Before preparing your soil, it’s essential to test its pH level and nutrient content. You can do this by purchasing a soil testing kit or sending a soil sample to a local university extension office. Soil testing will help you determine the nutrient deficiencies and pH level of your soil and give you a better understanding of what type of soil amendments your hydrangeas will need.
Amending the Soil
Once you have determined the pH level and nutrient content of your soil, you can begin amending it. Hydrangeas prefer slightly acidic soil with a pH level between 5.2 and 6.0. If your soil’s pH level is too high, you can lower it by adding sulfur to the soil. If your soil is too acidic, you can raise the pH level by adding lime.
In addition to adjusting the pH level, you can improve the soil’s texture and drainage by adding organic matter, such as compost or aged manure. Organic matter helps to loosen the soil and improve its structure, making it easier for water and nutrients to reach your hydrangeas’ roots.
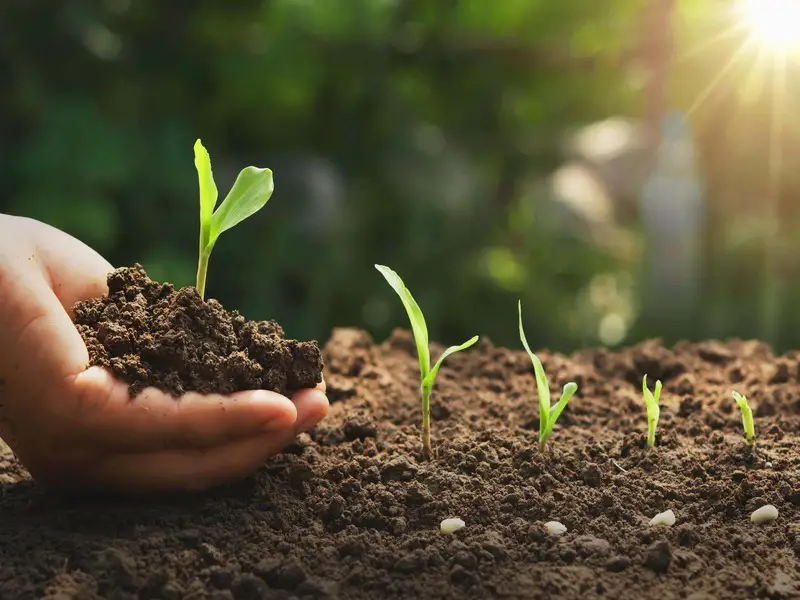
To amend your soil, spread a layer of compost or aged manure over the planting area and use a garden fork or tiller to incorporate it into the soil to a depth of 6 to 8 inches. This will ensure that the organic matter is evenly distributed throughout the soil and provide your hydrangeas with the nutrients they need to grow and bloom.
Mulching
Mulching is another essential step in preparing the soil for your hydrangeas. Mulch helps to retain moisture in the soil, suppress weed growth, and regulate soil temperature. To mulch your hydrangeas, spread a layer of organic material, such as shredded leaves or bark, around the base of the plant. Make sure that the mulch layer is about 2 to 3 inches deep and does not touch the stems of the plant, as this can lead to rot and disease.
Planting Your Hydrangeas
Now that you have selected the right hydrangea and location, it’s time to start planting. Here’s a step-by-step guide:
- Dig a hole that is two to three times wider than the root ball of your hydrangea and just as deep.
- Mix some compost or other organic material with the soil that you removed from the hole.
- Place your hydrangea in the hole, making sure that the top of the root ball is level with the soil surface.
- Backfill the hole with the amended soil and gently firm the soil around the base of the plant.
- Water your hydrangea thoroughly after planting to settle the soil.
Caring for Your Hydrangeas
Hydrangeas are relatively low-maintenance plants, but they do require some care to thrive. Here are a few tips:
- Water your hydrangeas regularly, especially during dry spells.
- Mulch around the base of your hydrangeas to help retain moisture and regulate soil temperature.
- Fertilize your hydrangeas in the spring with a slow-release fertilizer.
- Prune your hydrangeas after they bloom to remove dead or damaged branches and shape the plant.
Conclusion
Hydrangeas are a beautiful and low-maintenance addition to any garden. By following these simple steps, you can plant and care for your hydrangeas with confidence. Remember to choose the right location, prepare the soil, and water and fertilize your plants regularly. With a little TLC, your hydrangeas will reward you with gorgeous blooms for years to come.
FAQs
1. How often should I water my hydrangeas?
Hydrangeas need regular watering, especially during hot, dry weather. Water deeply once a week, making sure the soil is moist to a depth of 6 inches.
2. Can I grow hydrangeas in containers?
A. Yes, you can grow hydrangeas in containers. Just make sure to choose a container that is large enough for the plant and has drainage holes. Use a high-quality potting mix and water regularly to keep the soil moist.
3. When should I prune my hydrangeas?
A. The timing of pruning depends on the type of hydrangea you have. Bigleaf hydrangeas should be pruned after they bloom in the summer, while panicle hydrangeas can be pruned in the late winter or early spring before new growth appears.
4. How do I change the color of my hydrangea blooms?
A. The color of hydrangea blooms is determined by the pH level of the soil. To produce blue blooms, you need acidic soil with a pH between 5.2 and 5.5. To produce pink blooms, you need alkaline soil with a pH between 6.0 and 6.2.
5. Do hydrangeas attract bees?
A. Yes, hydrangeas are attractive to bees and other pollinators. If you have allergies or are concerned about bee activity in your garden, it’s best to plant hydrangeas away from high-traffic areas.
6. Can I grow hydrangeas in full sun?
A. Hydrangeas prefer partial shade and protection from direct sunlight. While some varieties can tolerate full sun, they may require more water and extra care to prevent their leaves from scorching.


