Are you tired of buying expensive, tasteless tomatoes at the grocery store? Why not try growing your own organic tomatoes at home? Not only will you save money, but you’ll also have access to fresh, flavorful tomatoes that are free of harmful chemicals. In this article, we’ll guide you through the process of growing organic tomatoes at home, from selecting the right varieties to harvesting your bounty. So roll up your sleeves and let’s get started!
Organic Tomatoes: What Are They and Why Are They Better?
Before we dive into the nitty-gritty of growing organic tomatoes, let’s first define what they are and why they’re better than conventionally grown tomatoes. Organic tomatoes are grown without the use of synthetic fertilizers, pesticides, or genetically modified organisms (GMOs). Instead, organic farmers use natural methods like crop rotation, composting, and beneficial insects to maintain soil fertility and control pests.
The benefits of organic tomatoes go beyond just environmental sustainability. They’re also healthier for you and your family. Studies have shown that organic tomatoes have higher levels of vitamins, minerals, and antioxidants than conventionally grown tomatoes. They’re also free of potentially harmful chemicals like glyphosate, a popular herbicide that has been linked to cancer and other health problems.

How to Grow Organic Tomatoes at Home
Now that you know why organic tomatoes are worth growing, let’s dive into the process of growing them at home.
Step 1: Choose Your Tomato Varieties
The first step in growing organic tomatoes is choosing the right varieties. There are hundreds of tomato varieties to choose from, so it’s important to select ones that are well-suited to your climate and growing conditions.
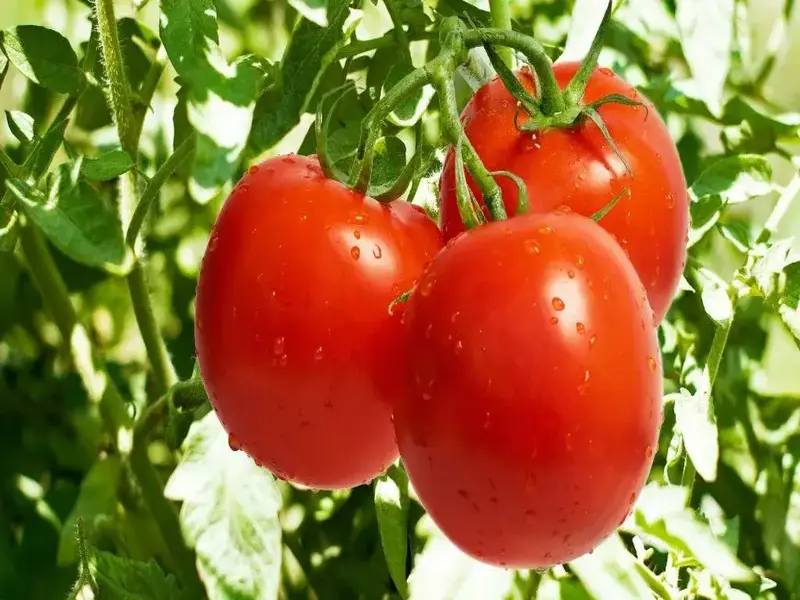
If you’re a beginner, we recommend starting with determinate varieties, which are bushier and more compact than indeterminate varieties. Some popular determinate varieties include Roma, Celebrity, and Glacier. Indeterminate varieties, on the other hand, are more sprawling and require staking or trellising. Popular indeterminate varieties include Beefsteak, Cherry, and Brandywine.
Step 2: Start Your Seeds
Once you’ve selected your tomato varieties, it’s time to start your seeds. You can either start your seeds indoors or outdoors, depending on your climate and growing season.
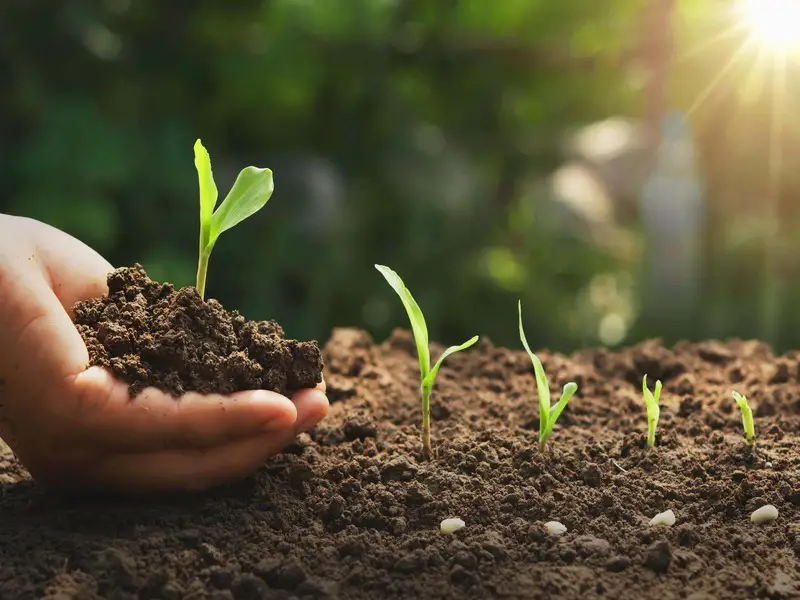
To start your seeds indoors, you’ll need seed trays or pots, seed starting mix, and a warm, sunny location. Fill your trays or pots with seed starting mix, plant your seeds according to the instructions on the seed packet, and keep the soil moist and warm. Once your seedlings have developed their first true leaves, you can transplant them to larger pots or containers.
If you’re starting your seeds outdoors, wait until after your last frost date and sow your seeds directly into the soil. Make sure to choose a sunny location with well-draining soil, and water your seeds regularly until they germinate.
Step 3: Transplant Your Seedlings
Whether you started your seeds indoors or outdoors, you’ll eventually need to transplant your seedlings into their permanent growing location. This is usually done when your seedlings have grown to be 6-8 inches tall and have developed a few sets of true leaves.
When transplanting your seedlings, choose a sunny location with well-draining soil. Make sure to space your plants at least 2-3 feet apart to allow for adequate air circulation and prevent disease. If you’re planting indeterminate varieties, you’ll also need to provide stakes or trellises for support.
Step 4: Water and Fertilize Your Tomatoes
Tomatoes need regular watering and fertilizing to grow strong and healthy. Water your plants deeply once a week, or more often during hot, dry weather. Avoid getting water on the leaves, as this can promote disease.
As for fertilizing, organic tomato plants thrive on compost and other organic matter. You can add compost to your soil before planting or use a liquid organic fertilizer throughout the growing season. Avoid using synthetic fertilizers, as these can harm beneficial soil microbes and contribute to soil degradation.
Step 5: Control Pests and Diseases
One of the biggest challenges of growing organic tomatoes is controlling pests and diseases without the use of synthetic chemicals. Fortunately, there are a number of natural methods you can use to keep your plants healthy.
For example, you can plant companion plants like marigolds, basil, and garlic around your tomatoes to repel pests like aphids and spider mites. You can also use natural insecticides like neem oil and insecticidal soap to control pests.
To prevent diseases like blight and wilt, make sure to keep your plants well-spaced and provide good air circulation. Remove any infected leaves or plants promptly, and avoid working with your plants when they’re wet.
Step 6: Harvest Your Tomatoes
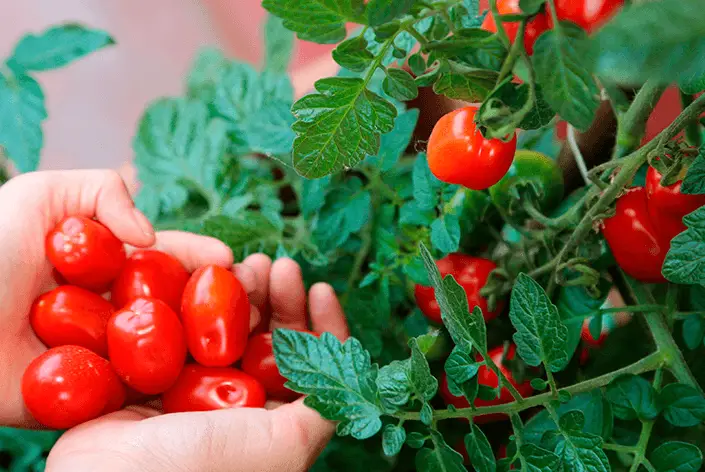
The final step in growing organic tomatoes is harvesting your bounty. Tomatoes are ready to harvest when they’re fully ripe and have a deep, rich color. To avoid damaging your plants, use a pair of pruning shears to cut the tomatoes from the vine.
Store your tomatoes in a cool, dry place and use them as soon as possible for the best flavor. If you have an excess of tomatoes, you can also preserve them by canning, freezing, or drying.
How to Grow Organic Tomatoes at Home: FAQs
Here are some frequently asked questions about growing organic tomatoes at home, along with our answers.
1. Can you grow organic tomatoes in containers?
Yes, you can grow organic tomatoes in containers as long as you choose the right variety and provide adequate water and nutrients. Look for determinate or bush tomato varieties, and choose a container that’s at least 12 inches in diameter.
2. How long does it take to grow organic tomatoes?
It usually takes 60-90 days for organic tomatoes to mature and be ready for harvest. However, this can vary depending on the variety and growing conditions.
3. How often should I fertilize my organic tomato plants?
Organic tomato plants should be fertilized once a month with a liquid organic fertilizer or compost tea. Avoid using synthetic fertilizers, as these can harm beneficial soil microbes.
4. How do I prevent blossom end rot in my organic tomatoes?
Blossom end rot is a common problem in tomatoes that’s caused by a calcium deficiency. To prevent it, make sure your soil has adequate calcium and water your plants consistently to prevent fluctuations in soil moisture.
5. How do I know when my organic tomatoes are ripe?
Organic tomatoes are ripe when they have a deep, rich color and give slightly when gently squeezed. You can also check the bottom of the tomato for a small crack or indentation, which indicates that it’s ripe.
6. How do I store my organic tomatoes?
Store your organic tomatoes in a cool, dry place, away from direct sunlight. Do not store them in the refrigerator, as this can damage the flavor and texture.
Conclusion
Growing organic tomatoes at home is a fun and rewarding hobby that can provide you with fresh, flavorful tomatoes all season long. By choosing the right varieties, providing adequate water and nutrients, and controlling pests and diseases using natural methods, you can enjoy a bountiful harvest of juicy, ripe tomatoes straight from your own backyard.
Remember to start with healthy soil, choose disease-resistant varieties, and give your plants the care and attention they need to thrive. With a little bit of effort and patience, you can grow delicious organic tomatoes that are packed with flavor and nutrition.
So why not give it a try? Start planning your organic tomato garden today and enjoy the taste of fresh, homegrown tomatoes all season long!


